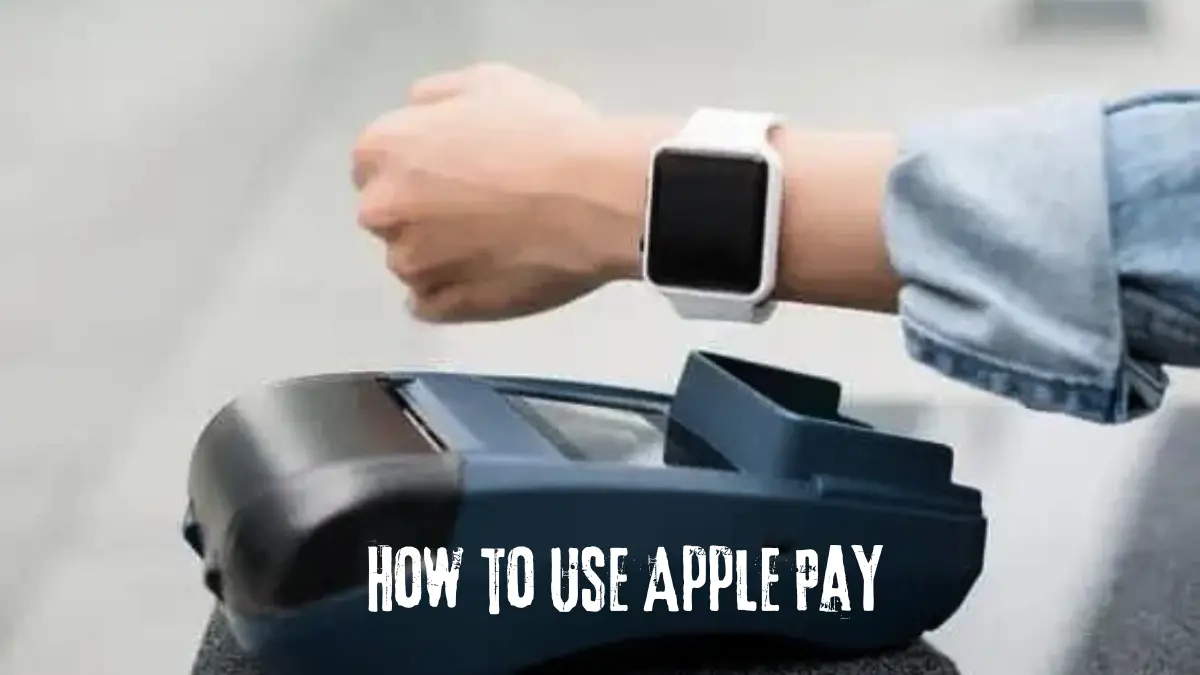
Apple Pay is a convenient and secure way to make purchases using your Apple devices. By following this guide, you will learn how to set up and use Apple Pay on your iPhone, iPad, Apple Watch, or Mac. Whether you’re shopping in-store, online, or in apps, Apple Pay simplifies the checkout process while keeping your information private. Let’s dive into the steps needed to get started with Apple Pay!
Step 1: Setting Up Apple Pay on Your iPhone 📱
The first step in using Apple Pay is to set it up on your iPhone. This process is straightforward and can be completed in just a few minutes.
- Open the Wallet app on your iPhone.
- Tap the Add button located in the upper right corner.
- Choose to add a credit or debit card.

Next, you have two options for entering your card information:
- Use your camera to scan the card.
- Manually enter your card details.
After entering your card information, your bank or card issuer may require additional verification to approve the card for use with Apple Pay.
Step 2: Verifying Your Card for Apple Watch ⌚
Once you’ve added a card to your iPhone, you can also verify it for use on your Apple Watch. This allows you to make payments directly from your wrist.
- Open the Watch app on your iPhone.
- Navigate to the My Watch tab.
- Scroll down to Wallet & Apple Pay and follow the prompts to verify your card.
Having Apple Pay ready on both devices provides flexibility and convenience for your transactions.
Step 3: Changing Your Default Card 🛒
If you add multiple cards to Apple Pay, you can easily switch your default card at any time. This can be done through your iPhone settings:
- Go to Settings.
- Tap on Wallet & Apple Pay.
- Select your preferred card as the default.
This feature gives you the freedom to choose which card to use for different purchases, ensuring you can take advantage of specific benefits or rewards.
Step 4: Making In-Store Purchases with Apple Pay 🏪
Using Apple Pay in stores is simple and efficient. Here’s how to do it:
- Look for the contactless symbol or Apple Pay logo at the checkout.
- When ready to pay, you don’t need to unlock your iPhone or open the Wallet app.
- For iPhones with Face ID, double-click the side button and glance at your phone to authenticate.
- For iPhones with Touch ID, double-click the home button and rest your finger on it to authenticate.
Your default card will automatically appear for use. If you wish to switch cards, simply tap on the one you want to use before completing the payment.
Hold the top of your iPhone near the contactless symbol on the card reader. Once the transaction is complete, you will hear a chime, and a confirmation message will appear on your screen.
Step 5: Making Online Purchases with Apple Pay 💻
Apple Pay streamlines online shopping by eliminating the need to fill out lengthy forms. Here’s how you can use Apple Pay for online purchases:
- Look for the Apple Pay button on the website or in the app.
- Tap or click the Apple Pay button to proceed.
- Review your purchase details, confirm your billing and shipping address, and select a different payment method if necessary.
Once you’ve reviewed everything, authenticate the transaction using Face ID, Touch ID, or your passcode. This makes online shopping quick and secure!
Step 6: Keeping Your Information Secure 🔒
Security is a top priority for Apple Pay. Your card details are never stored on your device or shared with merchants. Instead, a unique device account number is assigned, encrypted, and securely stored in the Secure Element of your device.
Each transaction is also authorized with a one-time unique dynamic security code, making it nearly impossible for anyone to access your information.
Step 7: Troubleshooting and Support 🆘
If you encounter any issues while setting up or using Apple Pay, here are some common troubleshooting tips:
- Ensure that your device is updated to the latest iOS version.
- Check if your bank or card issuer supports Apple Pay.
- Restart your device and try adding your card again.
For additional support, you can visit the Apple Support website or contact your card issuer directly for assistance.
Step 8: Understanding Availability and Compatibility 🌍
Before using Apple Pay, it’s crucial to know that:
- Apple Pay is not available in all markets.
- Some features may vary based on your region and the specific hardware and software of your device.
- Always check with your card issuer to ensure compatibility.
By understanding these factors, you can make the most of Apple Pay wherever you are.
Apple Pay offers a seamless way to make purchases securely using your Apple devices. From in-store transactions to online shopping, Apple Pay simplifies the payment experience while keeping your information safe. By following these steps, you can set up and use Apple Pay with confidence. Embrace the convenience of Apple Pay and enjoy hassle-free transactions!
Shubham is an experienced SEO specialist and versatile content writer with over three years of experience. His expertise spans across various niches, including technology, lifestyle, finance, and more.
